
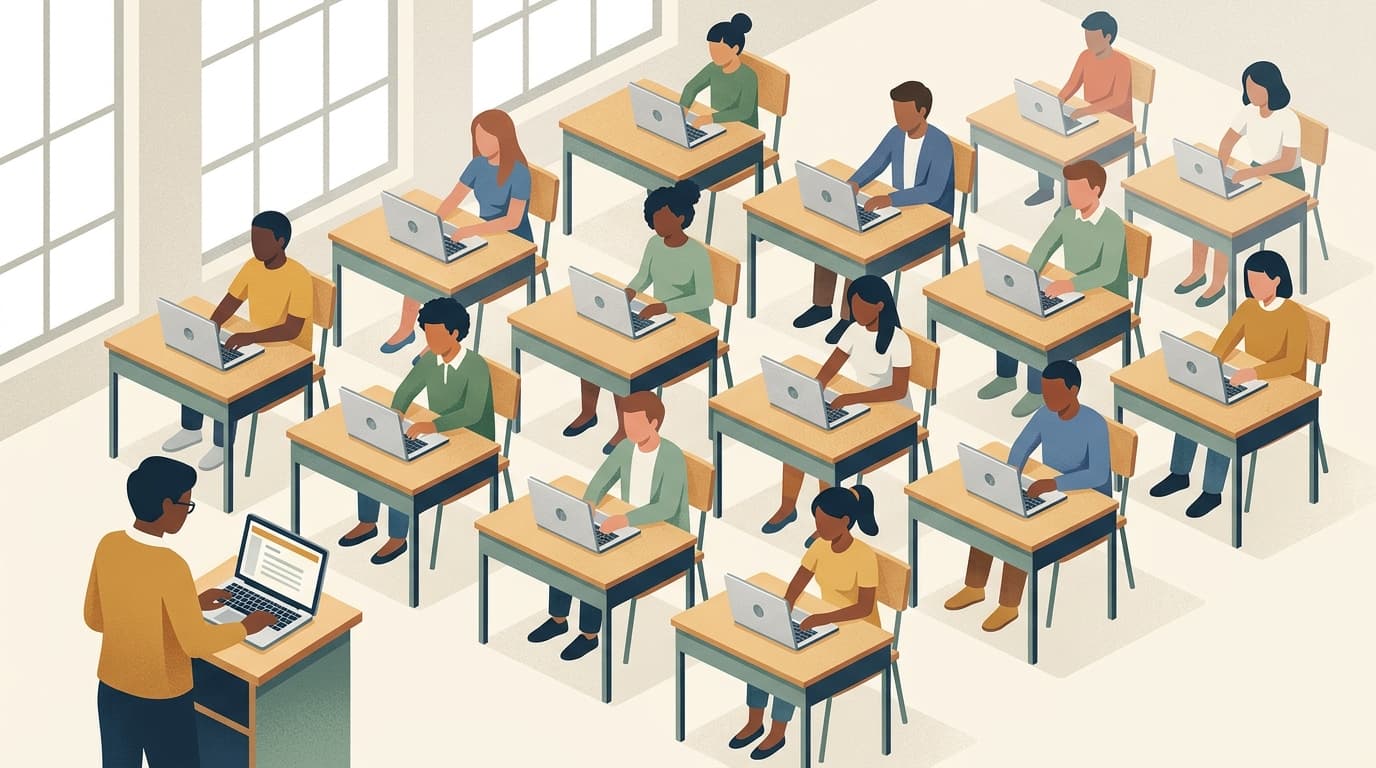
You have 30 Chromebooks in your classroom. A lesson plan that needs students on exactly two websites. And the quiet certainty that at least five students are on YouTube right now.
This is the daily reality for teachers in Chromebook classrooms. The devices are great for learning. They're also great for everything else—and students know it.
The standard advice is to submit a ticket to IT and wait for them to configure GoGuardian or update the district's blocklist. That works if your IT department responds in hours, not weeks. For most teachers, it doesn't.
This guide is for the rest of you: teachers who need to manage student Chromebooks during class, right now, without waiting for IT to deploy enterprise software.
Why Chromebook Management Is Harder Than It Looks
Chromebooks dominate K-12 education. Over 40 million are deployed in US schools alone. Google designed them to be simple, affordable, and easy to manage at scale through Google Admin Console.
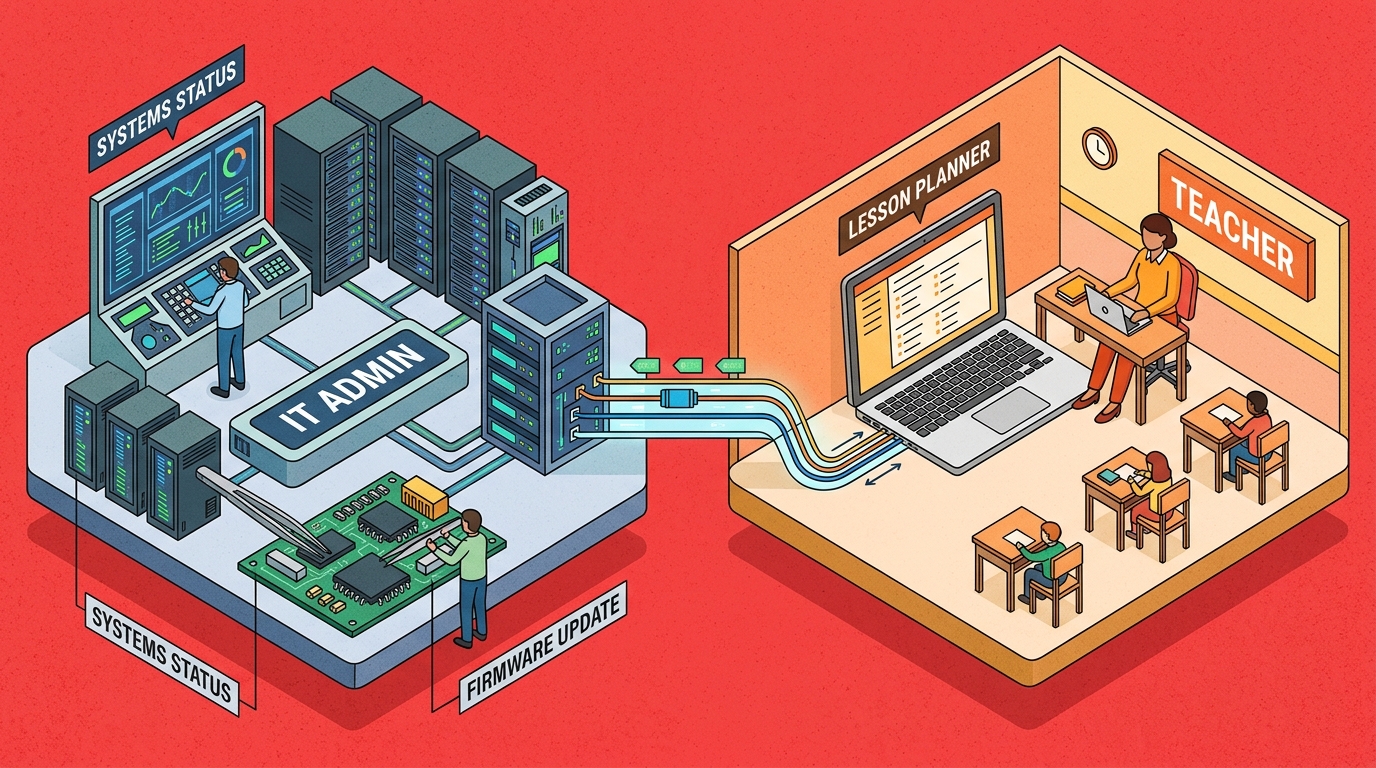
The problem: Google Admin Console is an IT tool, not a teacher tool.
What IT can do:
- Push policies to all Chromebooks in a domain
- Install extensions silently across the district
- Block categories of websites globally
- Manage device enrollment and updates
What teachers need to do:
- Block specific sites during this lesson, not all lessons
- Allow a research site for Period 3 but not Period 5
- See who's off-task right now, not in a report next week
- Change what's allowed mid-class when the assignment shifts
These are fundamentally different needs. District-level management is about safety and compliance. Classroom-level management is about focus and engagement in real time.
Most enterprise tools solve the first problem. Very few solve the second.
The Three Approaches to Chromebook Classroom Management
1. District-Managed (Google Admin + Enterprise Tools)
How it works: Your IT department uses Google Admin Console to push device policies. They may layer on GoGuardian, Securly, or similar enterprise software that monitors and filters across all school-managed Chromebooks.
Pros:
- Comprehensive, always-on filtering
- Centralized policy management
- Works even when students take Chromebooks home
Cons:
- Teachers have little or no direct control
- Policy changes require IT tickets and wait times
- One-size-fits-all blocklists don't fit every lesson
- Many teachers report feeling locked out of their own tool
Best for: District-wide safety filtering. Not great for per-lesson, per-teacher classroom management.
For a detailed comparison of enterprise tools, see our Best Classroom Management Tools for Online Learning in 2026.
2. Chrome Extension-Based (Teacher-Controlled)
How it works: Students install a lightweight browser extension. The teacher creates a session with specific rules (whitelist or blocklist), and those rules apply only during the session.
Pros:
- Teachers control what's allowed per class, per lesson
- No IT involvement for setup or daily use
- Session-based: rules apply only during class time
- Changes happen instantly, not after a ticket
Cons:
- Requires students to have the extension installed
- Only controls the Chrome browser (students could theoretically open another browser, though Chromebooks default to Chrome)
- No device-level control (can't lock the Chromebook itself)
Best for: Teachers who need flexible, per-session control over what students can access.
3. Physical and Procedural Controls
How it works: Screen-visible seating, walking the room, Chromebook carts with visible screens, and clear consequences for off-task browsing.
Pros:
- No technology needed
- Builds direct teacher-student accountability
- Works regardless of device type
Cons:
- Doesn't scale to 30 students
- Impossible in remote or hybrid settings
- Teachers shouldn't have to be screen police during instruction time
- You miss violations you don't physically see
Best for: Supplementing technology-based solutions, not replacing them.
How to Manage Student Chromebooks with Focus Room
Focus Room is built for approach #2: teacher-controlled, session-based management that works on any Chromebook without IT involvement.
Here's how to set it up.
Step 1: Create Your Teacher Account
Go to focusroom.pro/signup and create a free account. No school email required. No IT approval needed. Takes about 60 seconds.
Step 2: Have Students Install the Extension
Students need the Focus Room Chrome extension. Two ways to do this:
Option A — Students install it themselves: Share this link: Focus Room Chrome Extension. Students click "Add to Chrome."
Option B — Ask IT to push it: If your IT department is responsive, they can deploy the extension to all student Chromebooks through Google Admin Console. This is a one-time setup that ensures every student has it.
Either way, this only needs to happen once. The extension stays installed.
Step 3: Create a Room for Your Class
In your Focus Room dashboard, create a new room. Give it a name like "Period 3 - Biology" or "SAT Prep - Tuesday."
Configure your whitelist with only the sites students need:
- For a research assignment: Google Scholar, the school's database portal, your LMS
- For a writing exercise: Google Docs, your LMS
- For a math lesson: Desmos, Khan Academy, your LMS
- For a test: Only your exam platform
Everything not on the whitelist triggers a violation if a student navigates there.
Pro tip: Use Sticky Rooms to save your room configuration. You won't need to rebuild the whitelist every class period.
Step 4: Share the Room Code
Focus Room generates a short room code. Share it however works for your classroom:
- Write it on the board
- Post it in Google Classroom
- Say it out loud
- Include it in your meeting link if you're running a virtual session
Students open the Focus Room extension, enter the code and their name, and join. No student accounts needed.
Step 5: Monitor During Class
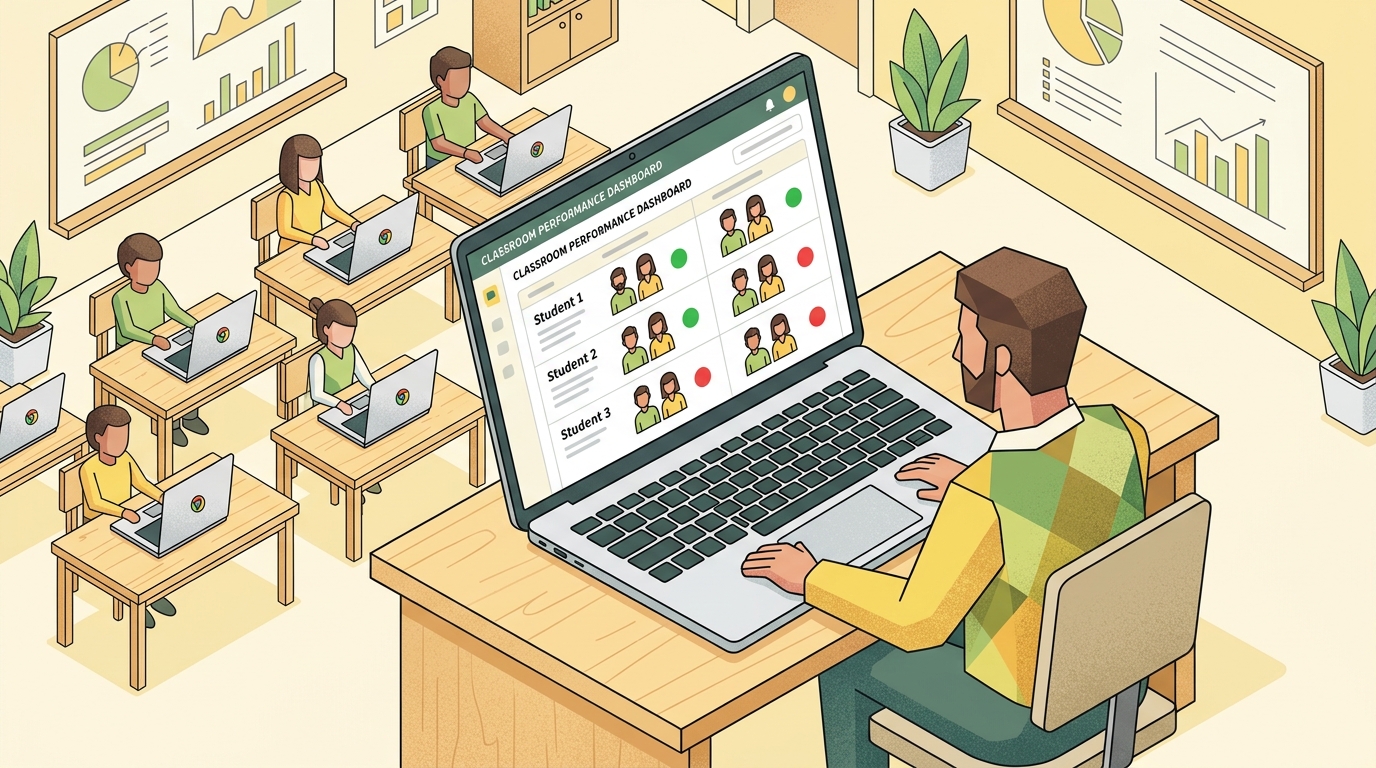
Your dashboard shows:
- Who has joined — see which students are connected
- Real-time violations — instant alerts when someone tries to access a non-whitelisted site
- Violation details — which student, which URL, when it happened
You don't need to walk around staring at screens. The tool tells you who's off-task so you can address it directly.
Step 6: Review After Class
After you end the session, you get a violation report: who went off-whitelist, how many times, and where they went. Use this for:
- Quick conversations with repeat offenders
- Adjusting your whitelist (maybe a site you forgot to allow was actually needed)
- Evidence for parent-teacher conferences if needed
Whitelist Examples by Subject
Getting the whitelist right is the difference between a smooth session and constant false violations. Here are practical starting points:
English / Language Arts
- Google Docs / Microsoft Word Online
- Your LMS (Canvas, Schoology, Google Classroom)
- Dictionary.com or Merriam-Webster
- Specific article links for reading assignments
Math
- Desmos (graphing calculator)
- Khan Academy
- Your LMS
- Mathway (if allowed for the assignment)
Science
- Google Scholar
- Specific simulation tools (PhET, etc.)
- Your LMS
- Lab report template links
History / Social Studies
- Your LMS
- Specific primary source databases
- National Archives (archives.gov)
- Specific article or document links
Computer Science
- Replit, CodePen, or your chosen IDE
- Documentation sites (MDN, Python docs, etc.)
- Your LMS
- Stack Overflow (if you allow it during the assignment)
Test / Quiz Sessions
- Your exam platform only
- Nothing else
General rule: Start strict, then add sites as students legitimately need them. It's easier to allow a new site mid-class than to figure out which of 50 allowed sites is the one students are abusing.
Handling Common Pushback
"My IT department already manages this"
Great—but district-level filtering and classroom-level management serve different purposes. District filtering keeps students safe from harmful content. Classroom management keeps students focused on this specific assignment. They complement each other.
Focus Room works alongside GoGuardian, Securly, or whatever your district runs. It adds a layer of per-session, per-teacher control that enterprise tools typically don't offer.
For a deeper comparison, see Focus Room vs GoGuardian vs Securly.
"Students will just uninstall the extension"
On school-managed Chromebooks, IT can lock the extension so students can't remove it (via Google Admin Console). On BYOD Chromebooks, students can uninstall it—but that shows up immediately in your dashboard (they disappear from the session). It's obvious who opted out, and you can address it directly.
"What about students who need accessibility tools?"
Add accessibility tools to your whitelist. Screen readers, text-to-speech tools, and other assistive technology sites should always be whitelisted. Focus Room's whitelist approach makes this easy—just add the domains.
"I don't want to be the screen police"
That's exactly the point. Without a tool, you are the screen police—walking around, craning your neck, playing whack-a-mole with off-task students. With a tool, you get notified automatically and can address issues efficiently. Less policing, more teaching.
Focus Room vs. District-Managed Tools on Chromebooks
Capability | Focus Room | District Tools (GoGuardian, Securly) |
|---|---|---|
Teacher can set up independently | Yes | No |
Per-lesson whitelist customization | Yes | Limited (GoGuardian Scenes) |
Setup time | 5 minutes | Days to weeks |
Always-on device monitoring | No (session-based) | Yes |
Screen viewing | No | Yes |
Works on BYOD Chromebooks | Yes | No (requires enrollment) |
Free tier | Yes | No |
IT department required | No | Yes |
Real-time violation alerts | Yes | Yes |
Privacy outside class | No monitoring | Continuous monitoring |
The tools aren't mutually exclusive. Many teachers use district-managed filtering for baseline safety and Focus Room for per-lesson focus management. They solve different problems.
Tips for Chromebook Classrooms
A few things we've learned from teachers who manage Chromebook classrooms daily:
1. Start every class by activating your Focus Room session. Make it routine. Students expect it. "Open your Chromebooks, join Focus Room, then start the assignment." It takes 30 seconds and sets the tone.
2. Keep your whitelist short. The fewer sites on the list, the clearer the boundaries. If students need something you forgot, add it during class—Focus Room lets you update the whitelist in real time.
3. Address violations immediately but briefly. "Jordan, I see you went off-task. Get back to the assignment." That's it. No long lectures. The tool gave you the information; use it efficiently.
4. Use Sticky Rooms for recurring classes. If Period 3 Biology uses the same three sites every day, save that room configuration. One click to start the session instead of rebuilding the whitelist.
5. Tell students you're monitoring. Transparency matters. Students who know their browsing is visible during class behave differently than students who think no one is watching. It's not about gotcha moments—it's about setting expectations.
6. Review violation reports weekly, not daily. Unless something urgent comes up, batch your reviews. Look for patterns: same student, same site, same time of day. Address the pattern, not every individual instance.
Getting Started
If you teach in a Chromebook classroom and you're tired of waiting for IT to solve your focus management problems, try this:
- Sign up for Focus Room — free, no IT approval needed
- Create a room for your next class period
- Build a whitelist with only the sites students need
- Share the room code and start your lesson
- See the difference when students know their browsing is visible
You'll spend less time policing screens and more time teaching. That's the whole point.
Questions about using Focus Room on Chromebooks? Email us: [email protected]
-- The Focus Room Team